Via VS Code Extension
In recent times, Salesforce has promoted VS Code as a go-to IDE for development. VS Code can be used for creating customization code as well as managing the configuration files. There are several extensions that are specifically built for Salesforce development. Some of these extensions are built by Salesforce itself, whereas some are built by other developers. Similarly, we have built a VS Code extension that can help you create the plays from the VS Code without logging in again into PlayGround / Salesforce or Version Control.
Installing the Extension
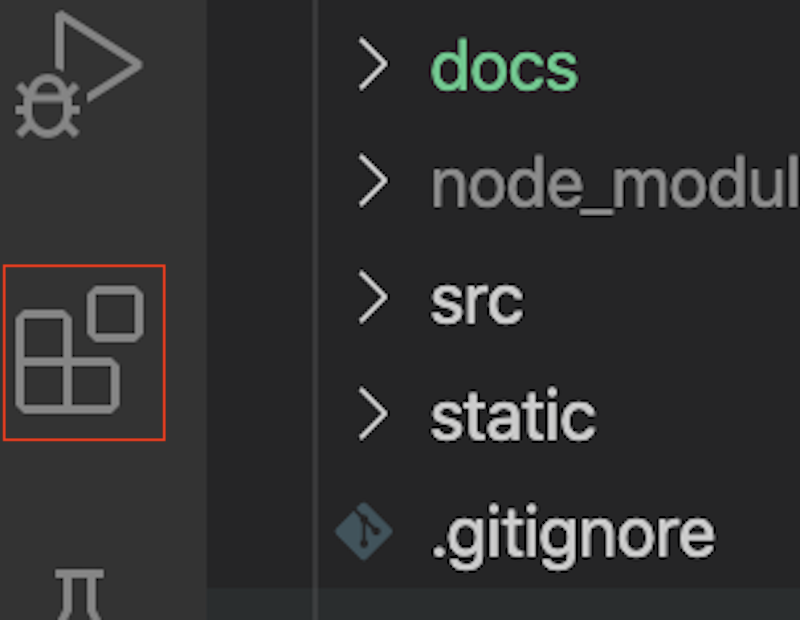
Open the Visual Studio Code and open the Extension options from the sidebar.
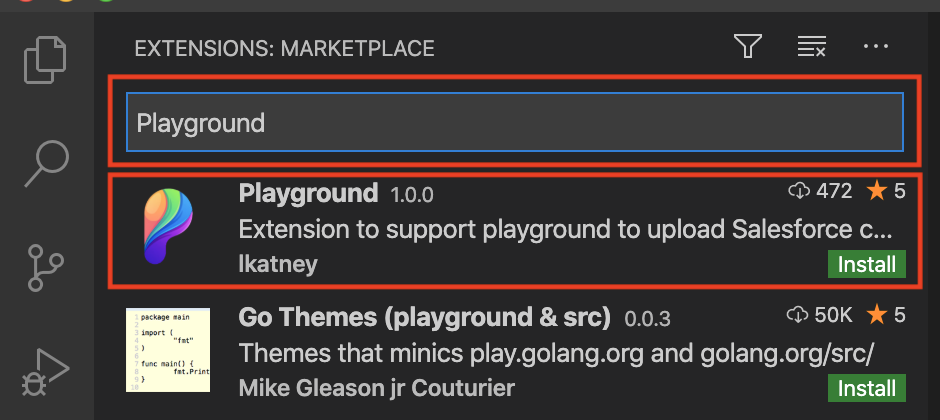
Search for Playground extension in the marketplace. A user would get all the extensions that have Playground in the name or description. Select the following one:
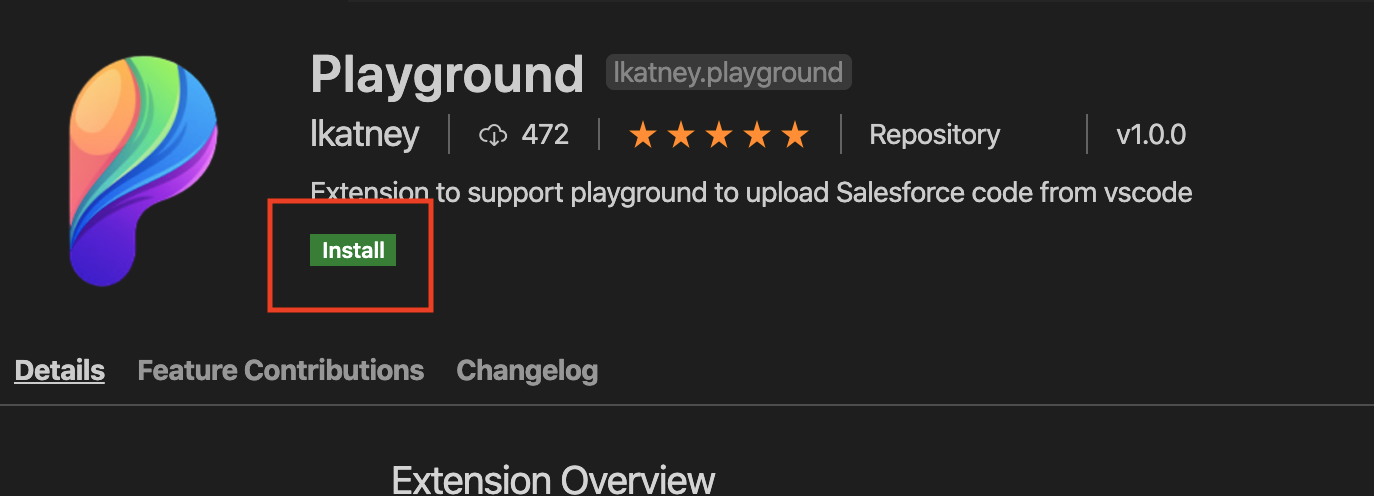
Click on Install to install the extension in VS Code.
Generating App Password
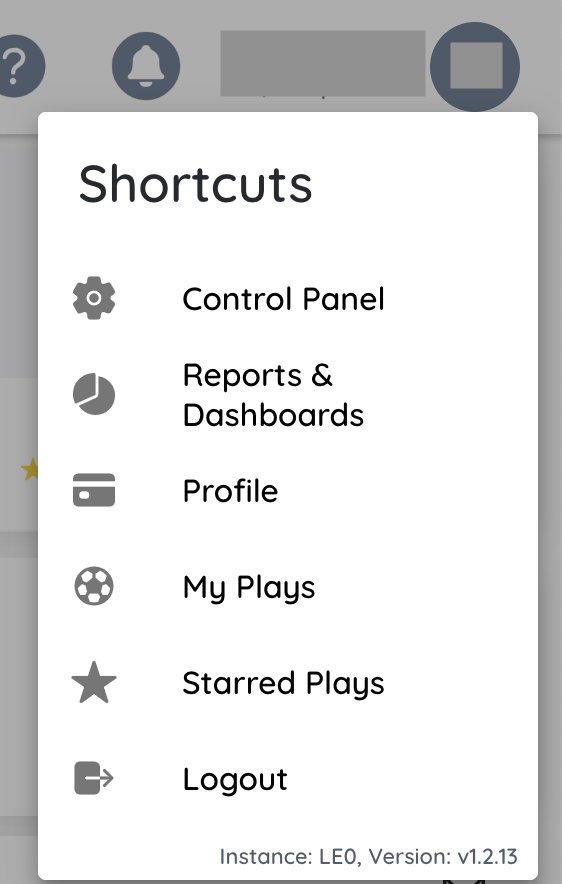
To connect VS code with Playground, the user would need to generate an App Password in the Playground and consume the details in VS Code. Log into the Playground and click on the user details on the top right. Select the Profile option to see profile details and customize it.
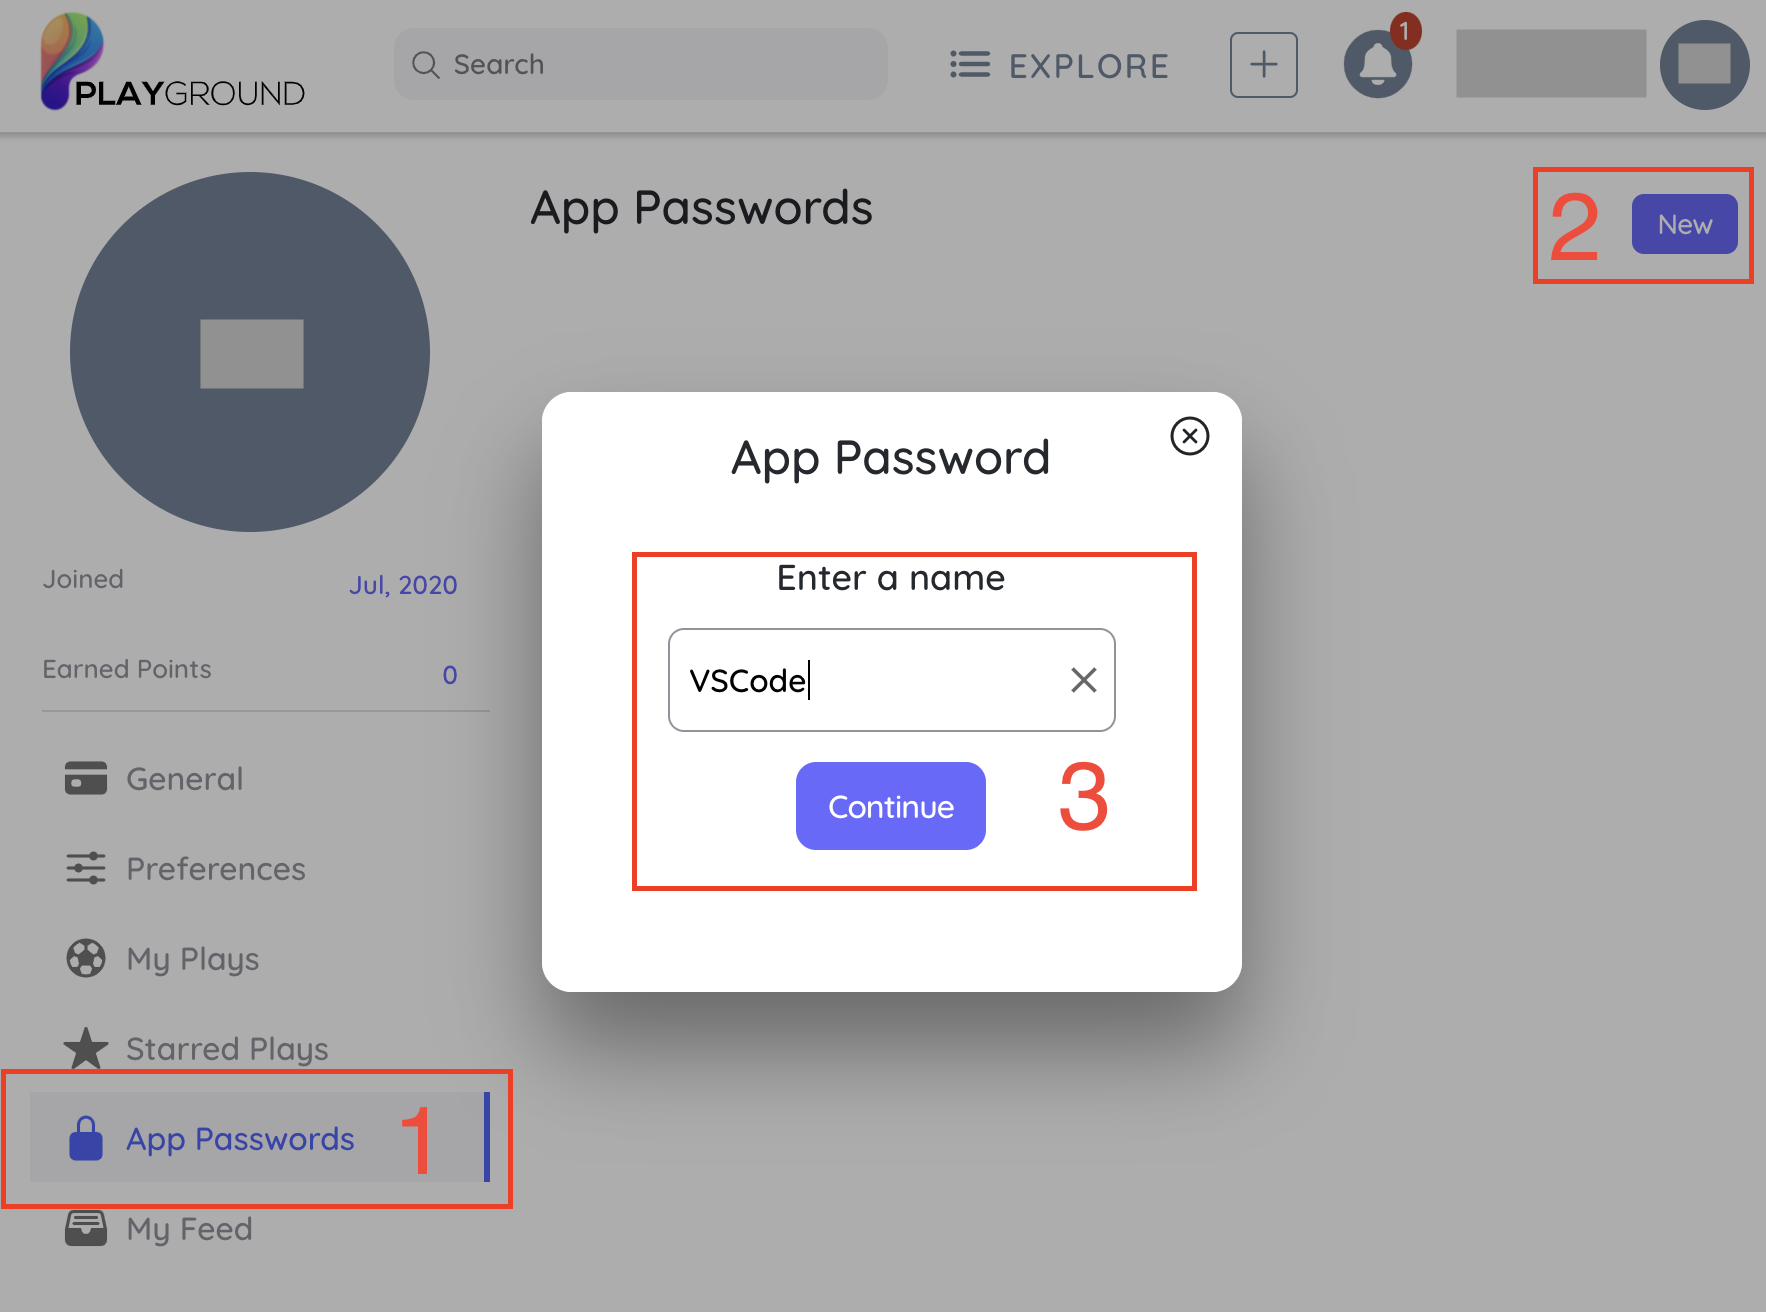
From the left sidebar menu, click on App Passwords, This would open the existing app passwords (if created earlier), and it gives an option to create a new app password. Click on New button. It opens a pop-up to create a new app password. Enter a meaningful name like VSCode. Click Continue, once done.
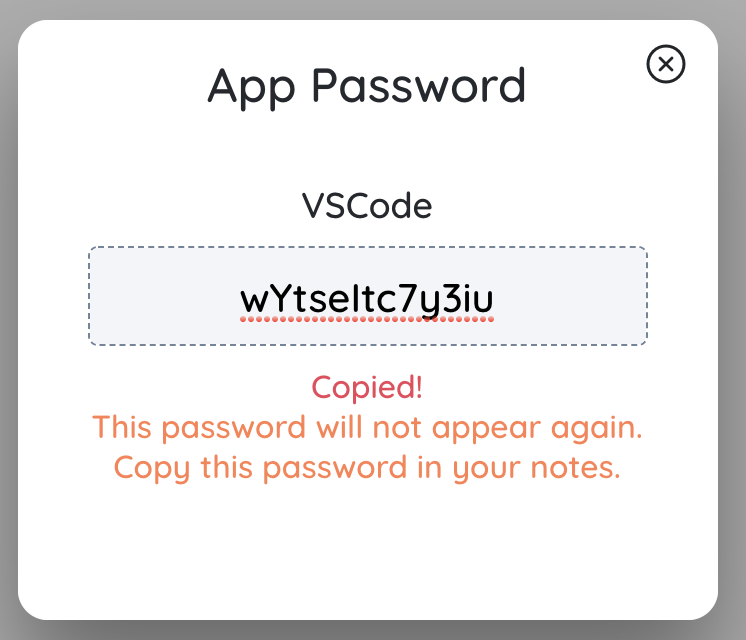
Copy the app password. Make sure to note it safely (if needed), as it will not be visible after you move away from the page.
Get User Nickname
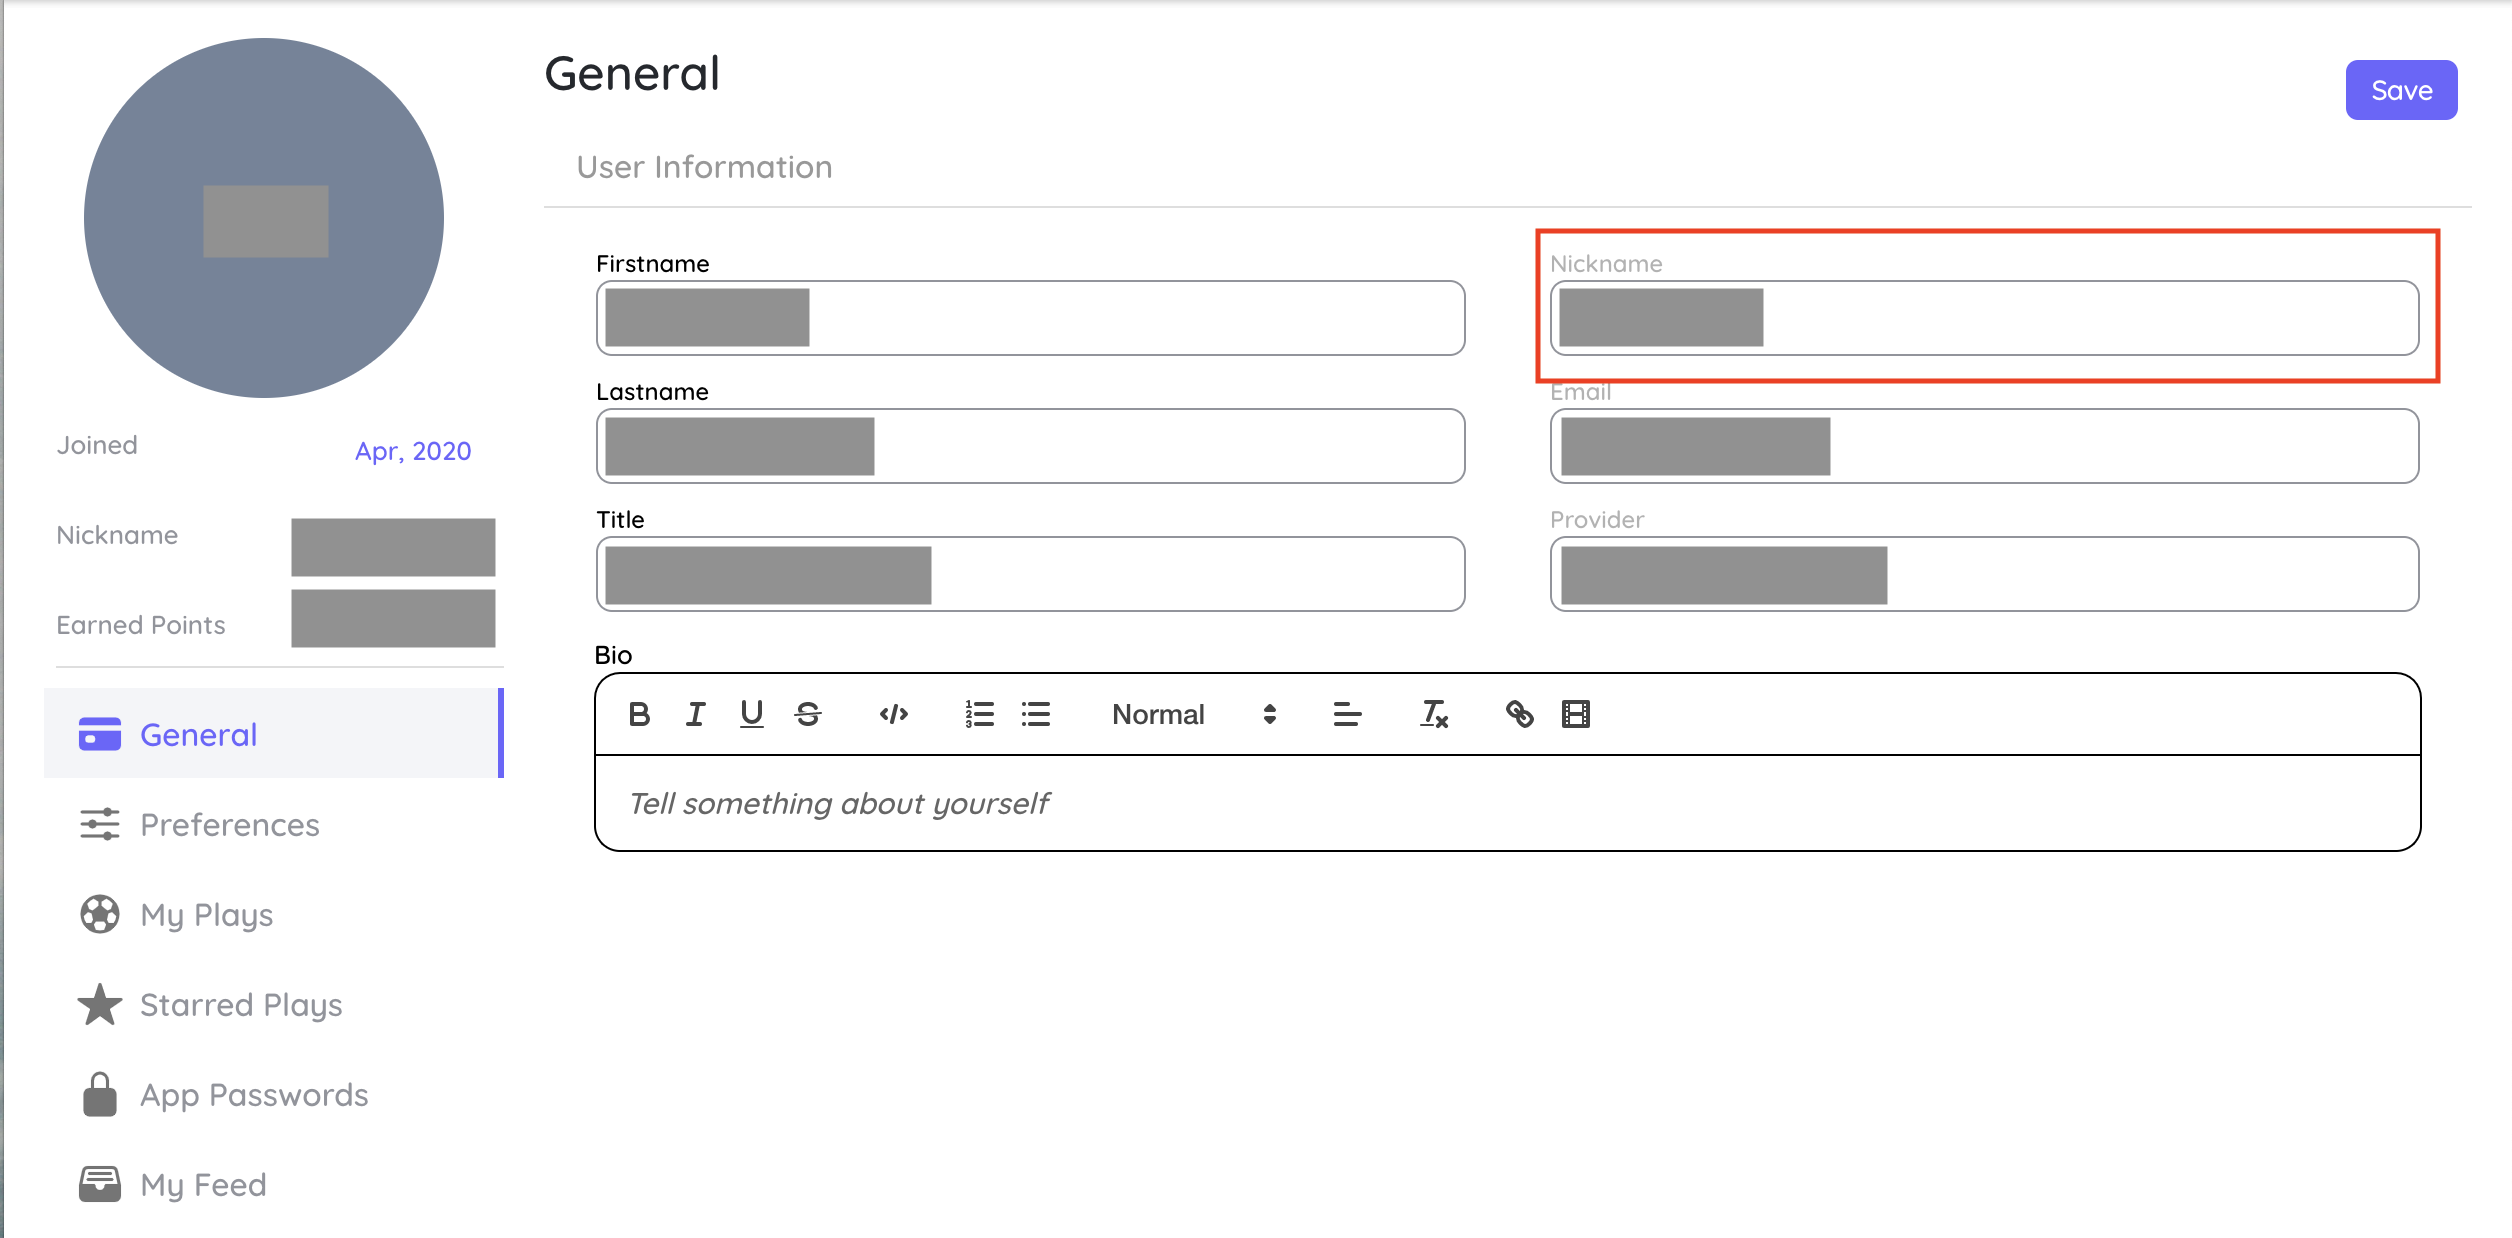
Remaining on the profile details page, click on the General link on the sidebar. Copy the nickname. It will be needed later while connecting VS Code with Playground application.
Once you have the extension installed and setup
Setup/Retrieve your Salesforce project in VS Code and the VS Code root directory should point to the project. Use the .playignore file to skip specific files while sending the project to Playgound.
Initialize the Folder
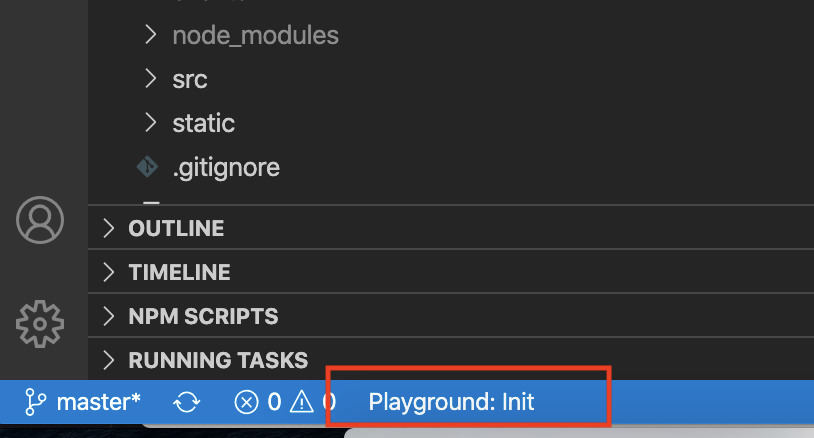
Before changes can be pushed to the Playground application, its important to initialize the VS code folder. To do so, look for the Playground:Init in the Status bar. Click on it.
For the first time initialization, follow the steps given on VS-Code Extension unit. If Playground is already initialized, then clicking on the Playground:Init will initialize the current play folder. Add the following details:
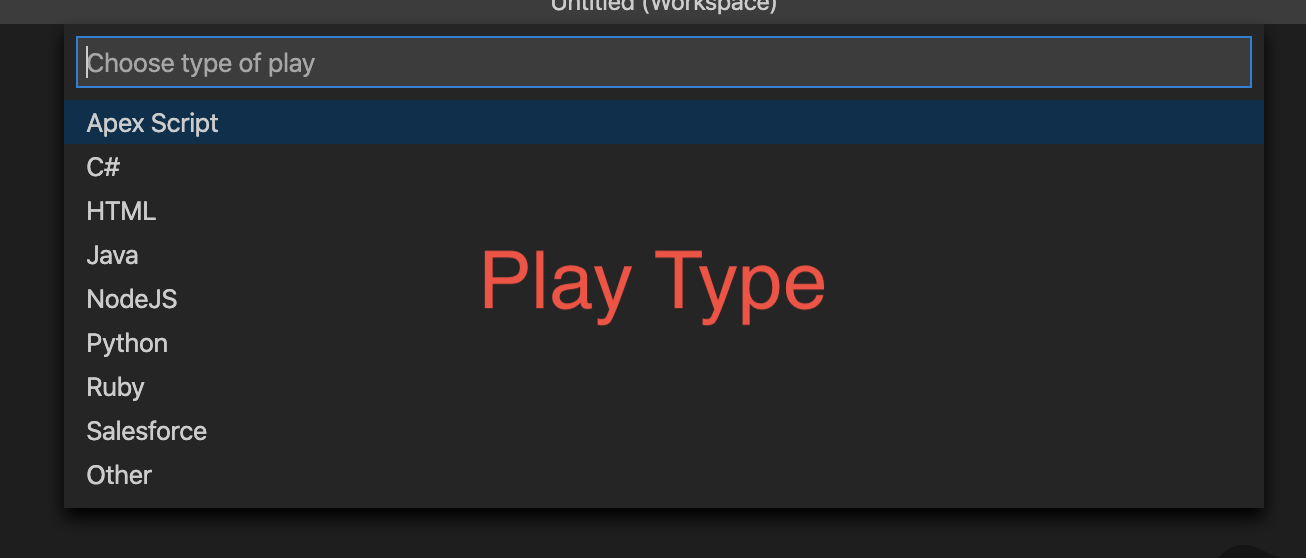
Play Title: This holds the Title for the Play that is shared with the Playground application when changes are pushed.

Play Type: Type of the Play. It hels Playground understand the configuration and displays actions accordingly.
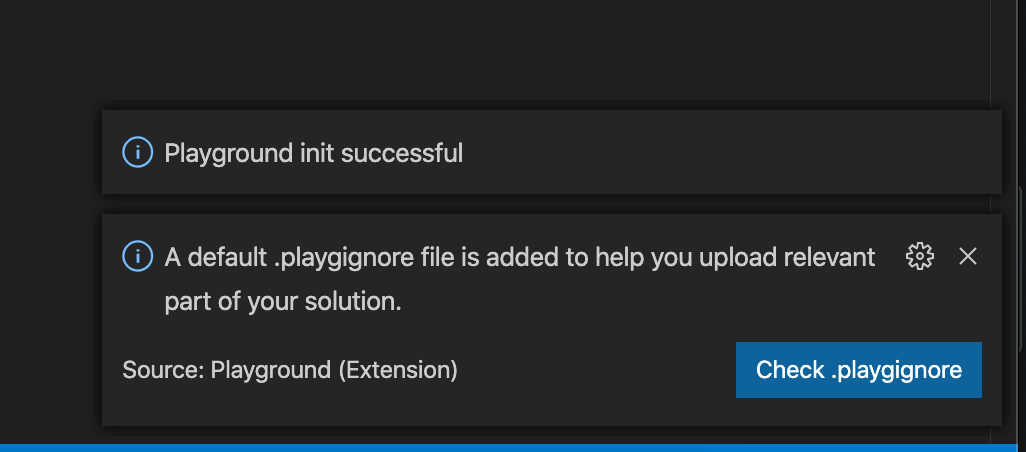
It generates a default .playgignore file to limit the unnecessary files being uploaded to Playground to make your solution clean & easily reusable. .playgignore uses glob patterns to ignore the files. Use appropriate patterns to limit according to the needs.
Pushing Changes
Once everything is set up, Uploading project to Playground is a single click task. Just go to Playground: Push Changes button in the bottom status bar & it will pick your whole force-app/src structure & upload it, thus making it a Playground directory.
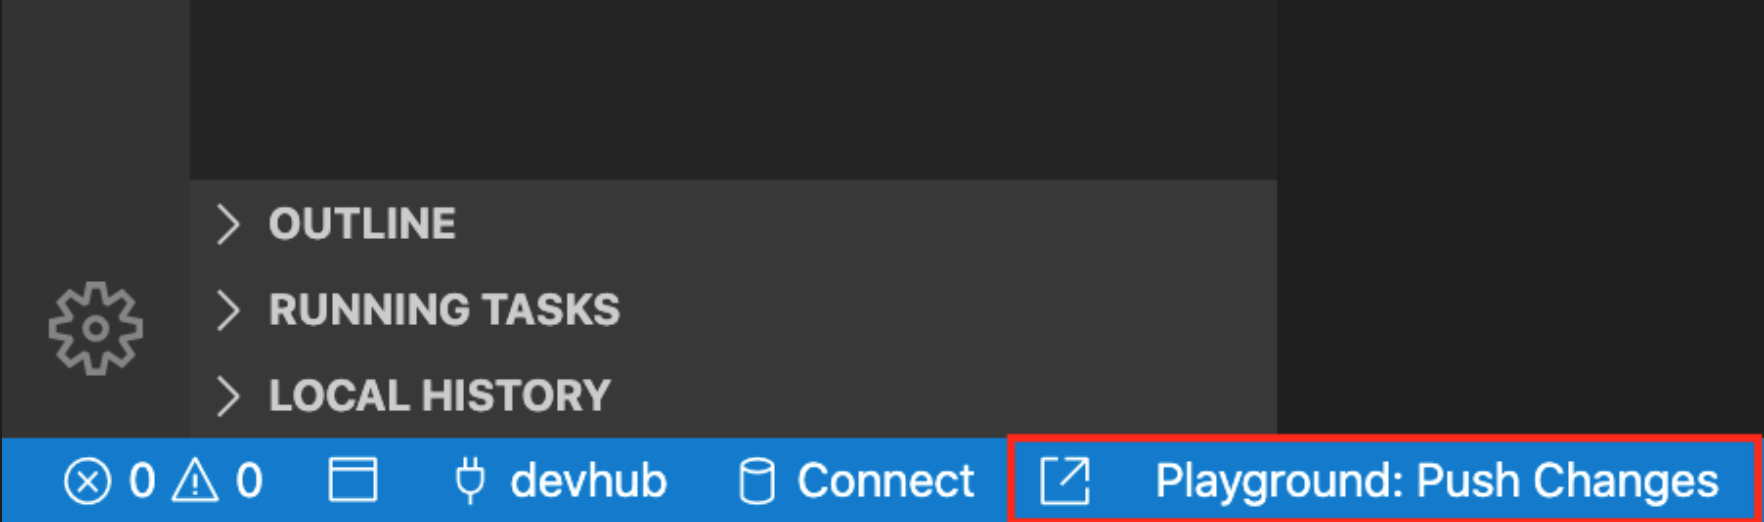
This button is smart & it overrides/updates the existing play next time if the same directory sent again with any changes.